
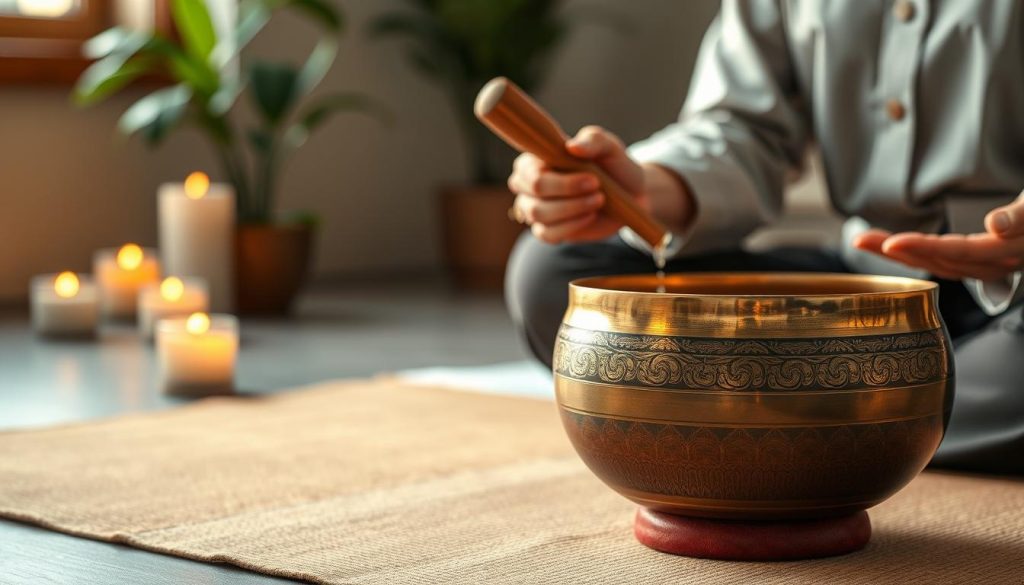
Discovering an instrument that promotes relaxation requires method and patience. This article offers a clear guide to getting started, making progress, and avoiding common mistakes.
With more than ten years of experience, the author shares proven techniques. You will learn how to make your instrument vibrate, whether it is made of metal or crystal.
Every session can become a moment of calm accessible to everyone. The text explains the essential movements, posture, and care step by step to extend the life of the object.
Follow this manual to transform your practice and achieve deep relaxation. The advice is intended for readers in France who want a simple approach that respects tradition.
Understanding the origins of singing bowls
The roots of this instrument extend through millennia of history and ritual. The earliest traces date back to around 5000 BC, when communities used these objects in shamanic practices.
Ancient history
Originally, the object was sometimes used for storage before acquiring sacred significance in the Himalayan region.
Shamans used it to accompany prayers and ceremonies, especially during lunar phases such as the full moon.
Modern development
The traditional composition is based on seven metals, each associated with the seven visible celestial bodies and the seven chakras.
- Ritual use around 5000 BC.
- Transformation from a practical container into a sacred instrument.
- Handcrafted and hammered construction for unique sound quality.
- Today, these instruments are valued for inner journeys and reconnection.
To learn more about the history and how to choose an instrument, read this detailed article.
Tibetan Singing Bowl: How It Works and Practical Advice
Playing a bowl begins with simple movements that directly affect sound quality. The instrument is either struck or made to sing by rubbing its wall. These two methods produce distinct vibrations that are useful for different session goals.
To use your instrument properly, follow a few key points: hold it steadily, use a suitable mallet, and keep your nondominant hand open without gripping. The position of your hand affects the resulting note.
A short ten-minute session is often enough to feel the first soothing vibrations. Yoga practice frequently incorporates these sounds to promote relaxation and reduce stress.
The striking technique remains an important part of learning: strike with control to produce moderate intensity. This short guide helps you find the right movement and improve the sound quality of your instruments.
Choosing an instrument to suit your needs
Size and weight directly affect the range and depth of your instrument’s sound.
A small model produces a high note. It is suitable for energy cleansing and work on the upper chakras, such as the third eye or crown.
A large model produces deep bass tones. It is ideal for sound massages from the top of the spine down to the feet. The vibration envelops the body.
The importance of size and weight
- Choose by attraction: during a trial, select the one that calls to you.
- The quality of the alloy affects harmonic richness and durability.
- Adapt your choice according to whether you want to cleanse a space or meditate deeply.
| Diameter | Recommended use | Sound effect | Audience |
|---|---|---|---|
| Small (≤ 12 cm) | Cleansing, upper chakras | High, clear | Focused meditation |
| Medium (13–20 cm) | Short sessions, sound journeys | Balanced | Regular practitioners |
| Large (≥ 21 cm) | Sound massages, deep relaxation | Low, enveloping | Body therapies |
Try several models before choosing. Good listening technique will guide you better than theory alone. Also consider ritual uses, such as the full moon, if they are part of your practice.
Preparing your relaxation space
Creating a corner dedicated to relaxation profoundly changes the quality of your sessions. Choose a quiet place away from sources of noise to reduce stress and encourage concentration.
Place your instrument on a stable table or a ring-shaped cushion to maximize its vibrations. A suitable support improves resonance and sustain.
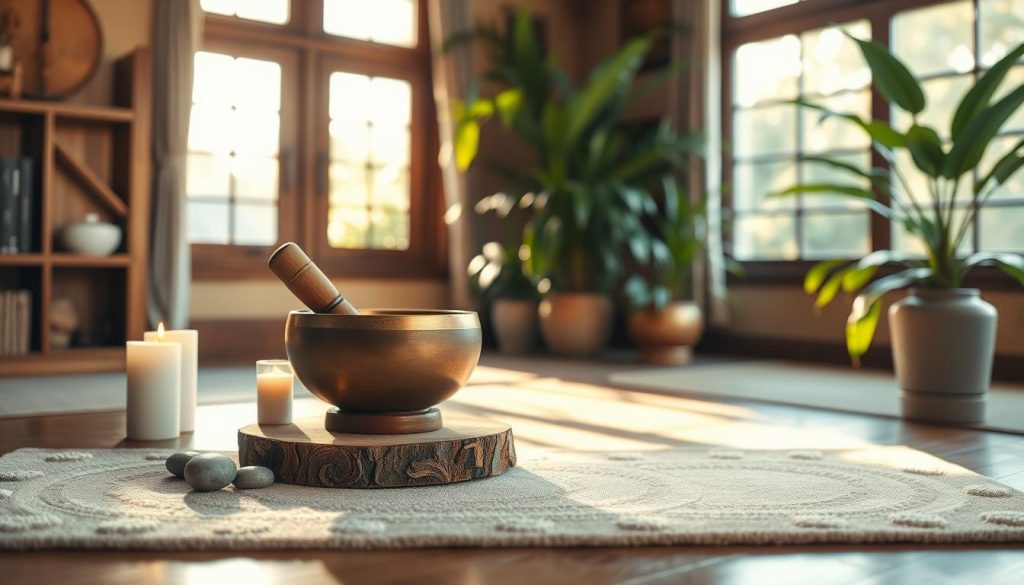
Keep the space uncluttered: use few objects, soft lighting, and natural fabrics. This allows the instrument to transmit its waves without interference and helps the mind let go.
- Keep everything you need close at hand to avoid interruptions.
- Turn off noisy devices and close the door.
- Repeat this setup before every session to create a consistent ritual.
To explore the practice and its effects in greater depth, consult a dedicated resource by clicking learn more about sound therapy.
Adopting the ideal posture for practice
Choosing a suitable position prevents tension and improves your reception of the vibrations.
Choose a comfortable seated posture, such as half lotus or cross-legged, to avoid pain. These postures allow you to remain still without effort for 10 minutes.
If you are practicing yoga or relaxation, sit on a cushion. A stable chair is also suitable for maintaining the position and keeping your spine straight.
Hold your instrument without clenching your hand. A relaxed body allows the waves to circulate freely and amplifies resonance.
- Avoid twisting your body or tensing your shoulders.
- Adjust the height of the cushion to keep your back straight.
- Change your seated position if discomfort arises so you can maintain concentration.
| Seated posture | Comfort | Recommended duration | Advantage |
|---|---|---|---|
| Half lotus | High | 10–30 minutes | Stability without tension |
| Cross-legged | High | 5–20 minutes | Easy for beginners |
| Chair | Variable | 10 minutes | Accessible and stable |
To learn more about setting up a session and mastering simple movements, follow a guided method. A suitable posture maximizes the feeling of relaxation and the sound quality of your instrument.
Mastering the striking technique
A well-executed strike transforms a simple impact into a rich, lasting vibration.
Choosing the right mallet changes everything. For small models, choose a firm striker. For large ones, use a padded mallet that can absorb the impact.
Choosing the mallet
Key points: the mallet’s material, weight, and head affect the tone color. A head that is too hard produces a short note. One that is too soft diminishes harmonic richness.
The precise movement
Striking involves delivering a sharp tap to the outer wall near the rim. Contact must remain brief so it does not dampen the vibrations.
- Aim for the upper part of the bowl to produce a clear, powerful note.
- Use a swinging motion from the wrist, not the shoulder.
- Devote part of your practice to mindfully repeating the movement.
| Instrument size | Type of mallet | Sound effect | Practical advice |
|---|---|---|---|
| Small | Firm striker | Clear, quick note | Sharp tap near the rim |
| Medium | Medium-headed mallet | Tonal balance | Brief contact; test the force |
| Large | Padded mallet | Low, long note | Controlled strike, wrist movement |
This guide helps you refine the position and force needed to obtain the best resonance. Practice regularly, even during a full moon (full moon), if that is part of your ritual.
Learning the rubbing method
The rubbing method transforms a simple caress into sustained resonance.
Hold the striker at a 90-degree angle to the instrument’s outer rim. Contact must remain constant to establish a stable vibration.
Consistent pressure promotes a deep, enveloping note. Move slowly: the slowness of the movement is an essential part of achieving success.
When the angle is correct, the resonance becomes richer. The harmonics activate the chakras and soothe the mind when contact remains gentle but continuous.
With practice, vary the sections of the striker you use to explore other vibrations. This guide recommends trying slower movements first and then gradually increasing the speed.
| Element | Angle | Contact | Effect |
|---|---|---|---|
| Striker near the rim | 90° | Constant, gentle | Deep note, stable resonance |
| Pressure | Maintained | Consistent | Rich harmonics, chakra stimulation |
| Sections of the striker | Different | Adapted | Variations in vibration |
Using a crystal singing bowl
Quartz crystal transforms vibration into a clear, penetrating resonance. Its pure tone is well suited to focused practices that require precision and lightness.
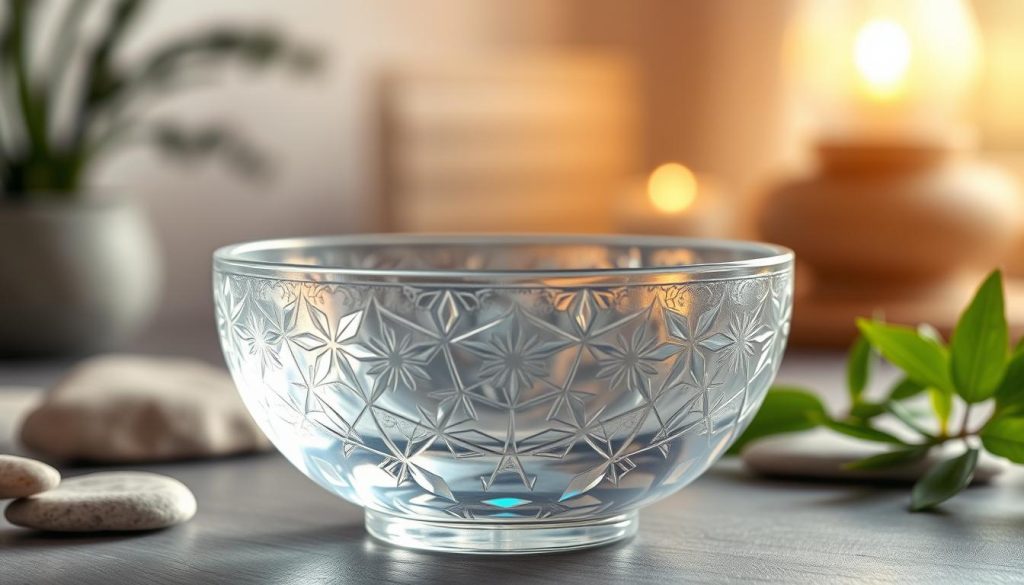
The basic principles remain similar to those for metal models. A crystal instrument is used with the same movements: a stable posture, a gentle grip, and controlled motion.
The rubbing technique is often more effective on crystal. Its slightly rough surface grips the mallet, promoting more sustained vibrations.
- Mallets frequently have a plastic tip for better grip.
- Adjust the pressure to avoid an excessively shrill sound.
- Each note produced acts directly on chakra harmonization and mental clarity.
The crystal instrument is an excellent addition for deepening your daily vibrational practice. To learn more about choosing and using one, consult this complete guide to crystal bowls.
Managing common difficulties during use
Unexpected sounds can occur; knowing how to identify them helps restore beautiful resonance. This section presents common causes and simple solutions for regaining control of your practice.
The bowl does not sing
If your instrument remains silent, check the position of your hand and the consistency of your pressure. A grip that is too loose or an irregular movement blocks the vibrations.
Stabilize your body, maintain even pressure, and slowly repeat the rubbing movement. Sometimes, a slight change in angle restarts the note.
The sound is too high
A note that is too high often results from an overly hard mallet or a point of contact too close to the center.
Try a softer head or move the striker toward the rim. These adjustments enrich the harmonics and soften the high frequencies.
The sound is too loud
Excessive volume may result from moving too quickly or applying too much pressure.
- Slow the rotation to achieve gentler relaxation.
- Breathe calmly: stress affects your movement.
- This guide recommends adjusting the technique in small steps to balance the chakras.
Optimizing the length of your sessions
A well-chosen practice duration enhances the quality of the vibrations.
A session of 10 to 20 minutes is often enough to achieve deep relaxation. Start with 10 minutes, then add a few minutes according to how you feel.
Consistency matters greatly. A few minutes of daily practice stabilizes the note of your instrument and improves the quality of your meditations.
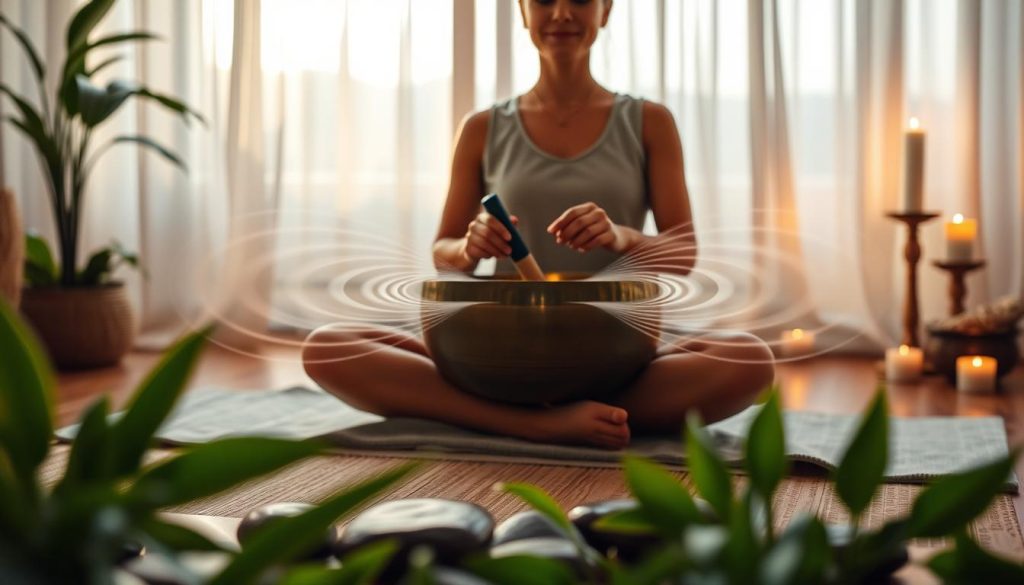
Listen to your body to decide whether the sounds should continue longer. If the tension subsides quickly, keep that duration. If stress remains, gradually extend the session.
- Ideal duration: 10–20 minutes, depending on personal needs.
- Short daily practice: stabilizes the note and improves technique.
- Adapting the duration: let your sensations guide each session.
This guide recommends incorporating these periods into your routine to reduce stress and promote lasting well-being. To learn how to use your instrument in yoga, read about how to use your instrument during a yoga session.
Incorporating bowls into a daily routine
Fifteen minutes a day with your instrument is enough to experience genuine calm. Begin the morning by producing a clear note: this creates a gentle intention for your activities.
At the end of the day, a few minutes of practice release accumulated tension and make it easier to fall asleep. Regular repetition reduces stress and makes relaxation more accessible.
Daily connection strengthens your familiarity with the instrument. You will recognize more quickly the harmonics that help balance the chakras and establish a soothing inner rhythm.
“Short, regular practice changes our relationship with sound.”
To learn more about its use in sound therapy, consult this dedicated resource.
- Morning: 5–10 minutes to set an intention.
- Evening: 5–15 minutes to release tension.
- Every week: daily practice to harmonize energy.
Exploring therapeutic and vibrational benefits
Each note travels through the body’s water and prompts an immediate sensory response. The vibrations have a measurable impact: they mobilize tissues and promote deep relaxation.
Yoga practice combines movement and sound to release blockages around the chakras. This synergy facilitates faster relaxation and reduces perceived stress.
Sound massages use these same waves. They often relieve chronic pain and improve circulation. Their effects continue after the session.
- The instruments serve as channels for exploring emotions.
- Regular listening strengthens the immune system.
- Daily practice optimizes quality of life and relaxation.
“Sound becomes a form of care: it guides the body toward a state of inner peace.”
Harmonizing the chakras with sound frequencies
Sound frequencies serve as a guide for tuning your energy centers, just as you would tune an instrument.
The root chakra corresponds to the note C, while the crown responds to the note B. Choosing each tone helps target a specific center.
Harmonizing your seven chakras requires playing the correct frequency for each area. Sound massages with the instrument help locate and soothe tension.
Approach your practice with a compassionate perspective: every sound affects relaxation and stress. Gentle listening encourages steady vibrations that act like a tuning fork.
Practice regularly to maintain the balance of the chakras. The instrument realigns your internal frequencies, improves energy circulation, and transforms the session into genuine care.
“Choosing the right note means giving your body the space it needs to restore harmony.”
Maintaining and preserving the quality of your bowl
A few regular actions are enough to preserve the quality of the note and the vibrational impact of your instrument.
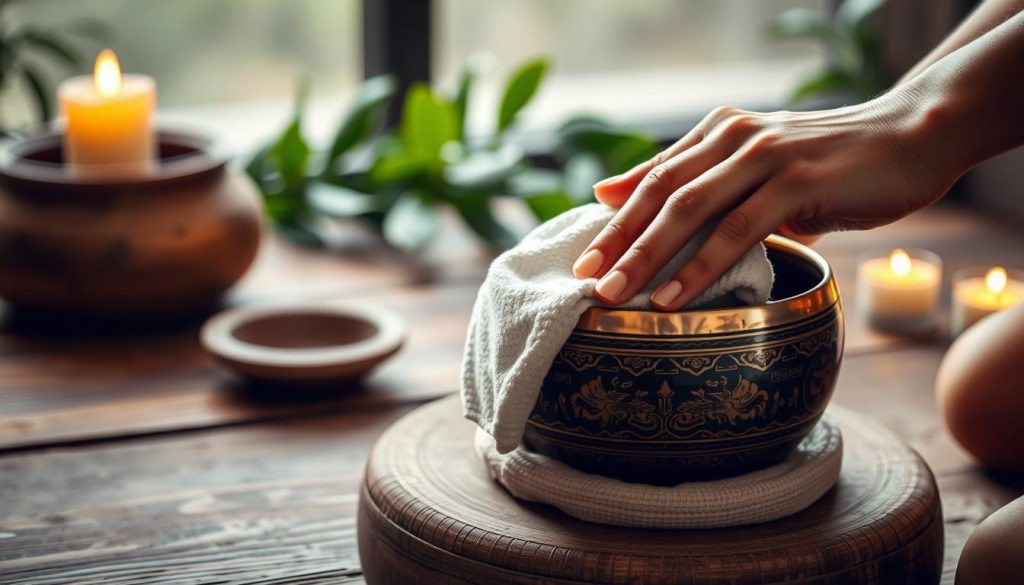
Avoid prolonged contact with water. Moisture promotes rust in alloys containing copper or iron and damages the natural patina.
Gentle care is enough: wipe the instrument with a dry cloth after every session. Making the instrument sing regularly is an essential part of its maintenance. It keeps the harmonics and vibrations stable for relaxation.
- Clean lightly without harsh products.
- Avoid abrasive rubbing during sound massages.
- Monitor the room’s humidity to preserve the surface.
Take a caring view of your instrument: treat it as an ally in your practice. To discover detailed methods for caring for similar instruments, read the article preserving its harmonies.
“Daily care is the best guarantee of lasting sound quality.”
Important precautions for safe use
Safety begins with a stable support and measured practice.
To prevent falls, always place your instrument on a stable table or suitable support. A solid base reduces the risk of property damage.
Placing the object upside down on your head to make it sing is strongly discouraged. This method exposes the instrument to impacts and the person to physical danger.
During sound-massage sessions, use a gentle technique. Excessive pressure can cause physical stress or pain in the person receiving the massage.
- Avoid striking too hard: you could damage the metal wall or harm your eardrums.
- Handle intense vibrations carefully, especially near the neck or chest.
- Inform those present about basic precautions to ensure they have a positive experience.
“Protecting the instrument and its users ensures safe, sustainable sessions.”
Conclusion
Conclusion
This short guide has introduced the fundamentals you need to approach the practice with confidence. Patience and repetition turn learning into lasting progress.
Incorporate a few minutes of practice into each day to experience its effects on your well-being. Regular practice develops listening skills, precision of movement, and the depth of relaxation.
To continue learning, follow this practical tutorial, which offers exercises and a session structure. We hope this article will guide you toward greater inner harmony.